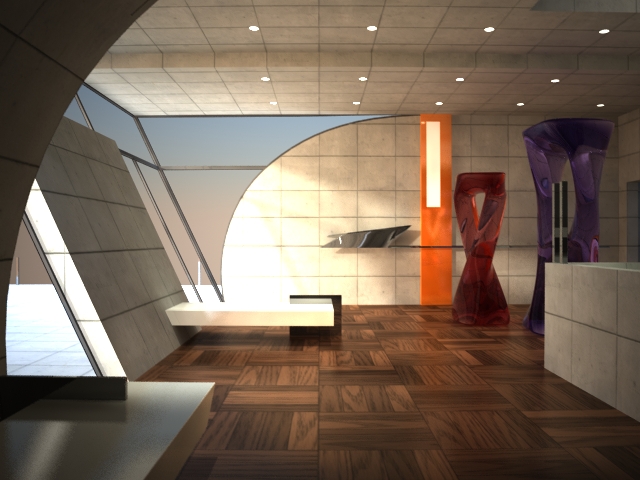
This scene exploits and showcases some of the new features that were introduced in Lightwave 9.2, such as improved radiosity, energy conserving materials such as dielectric, conductor and delta, faster reflection blurring and the real lens camera. Requires the Skylight plugin, which can be found on Denis Pontier's site.
Download (0.5mb) |
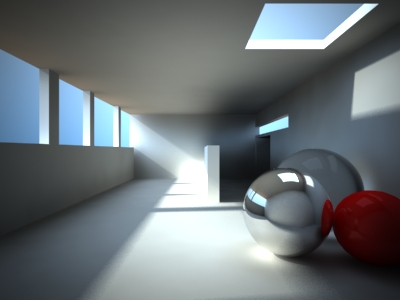
Deceptively simple scene that is ideal for fast radiosity experiments. The clean room shows most radiosity problems quickly. Adding an object with really thin features such as a chair will help you test contact and thin shadows, together with the window edges. The reflective ball allows you to check for out-of-camera GI quality, the Dielectric ball checks for through-transparency GI and the red ball the color bleed. Requires the Skylight plugin, which can be found on Denis Pontier's site.
Download (0.5mb) |
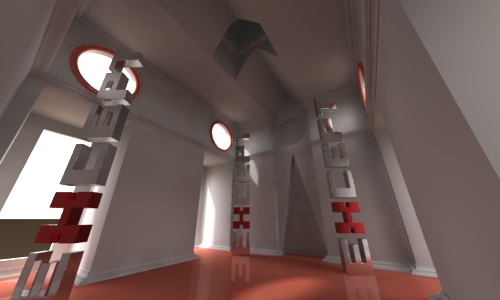
A more challenging scene, but still fast to render, this scene is designed to throw off the GI engine by introducing very small detail in a large space that's almost entirely indirectly illuminated, while still rendering very fast.
Download |
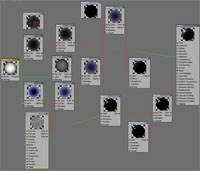
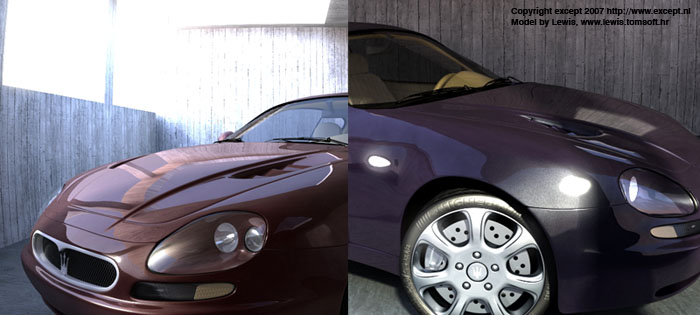
| Car paints and laquers are notoriously difficult to get right in computer programs. You standard diffuse plus some reflection and specular is not going to cut it. Because car paints are built up from several layers, depending on what type, color and finish, you will need to experiment with the look you want. We've provided a nodal network for you to experiment with. This is for a metallic laquer that has different color for different viewing angles, a high gloss coating and a low wide gloss color metallic layer. Experiment all you like. |
click to see node network
|
 |
Download >> |
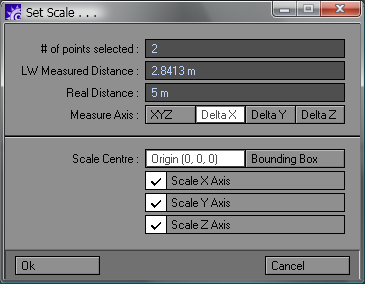
This plugin is made by Matt Gorner, we're just hosting it for him. This is an extremely useful plugin if you have to import things from cad or other 3d applications and need to properly scale the imported files. Just make a 1 by 1 foot or meter square or cube in the original, select two points of it in the imported file, run this little baby, enter the value, voila.
1) Pick two points you know the real life distance of (it actually uses the first and last point despite how many are picked, so you can select points that are inline down one axis - saves time deselecting points that aren't needed)
2) Run script
3) It shows the LightWave measured distance, now punch in the distance you WANT it to be
4) You can optionally choose which axis to scale, useful for accurate stretching
The plugin will scale _everything_ on all ACTIVE layers to make the distance between the two points the same as the 'real' distance specified. You also have the option to scale using the bounding box centre (of the whole object visible) or from the world 0,0,0 coords. |
|
Download >> |
|
|
Okay so here is the post that started it all:
whoop whoop
with the scoop
get with the wave
'cos you know you want to now
render with the Lightwave cow
Pfx your cars in a crash
render them with the gi cache
Chuck is in the house
Click on him with the mouse
Steal his donuts right away
And you know you've gotta say...
The Lightwave is the best around
Its theories are very sound
I can't do this very well
But lightwave can render swell!
*cringe* I guess there's a reason why I'm not anywhere near the music industry in terms of anything :)
(Chuck is a wonderful manager at Newtek, the makers of LightWave)
Tyrot's response:
dear exception
this Song purely has been dedicated to "YOU" and our community's piece of "ART"
click here to download the song
BEST |
|
|
If this tutorial proves especially handy for you, would like to support the creation of more of these tutorials and new developments, or would just like to express your thanks, you can make a donation by clicking on the following button, or alternatively just send me an email.
|
|